Honda CRF 250 Rally
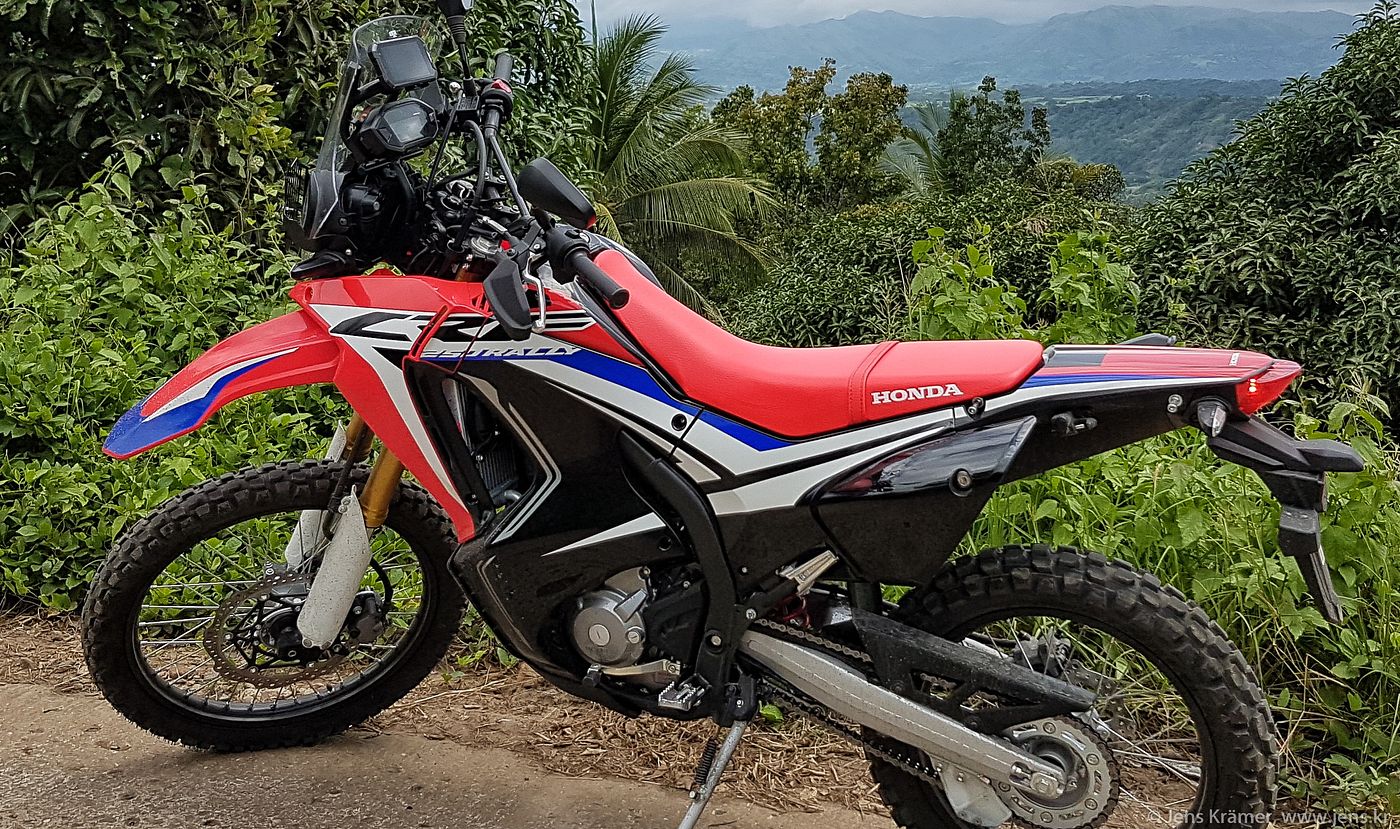
I fell in love with this bike when I first saw it at the local Honda dealership in August 2017 and bought it not long after that.
This page is dedicated to that bike and the various modifications I've done over time:
Rack and Luggage
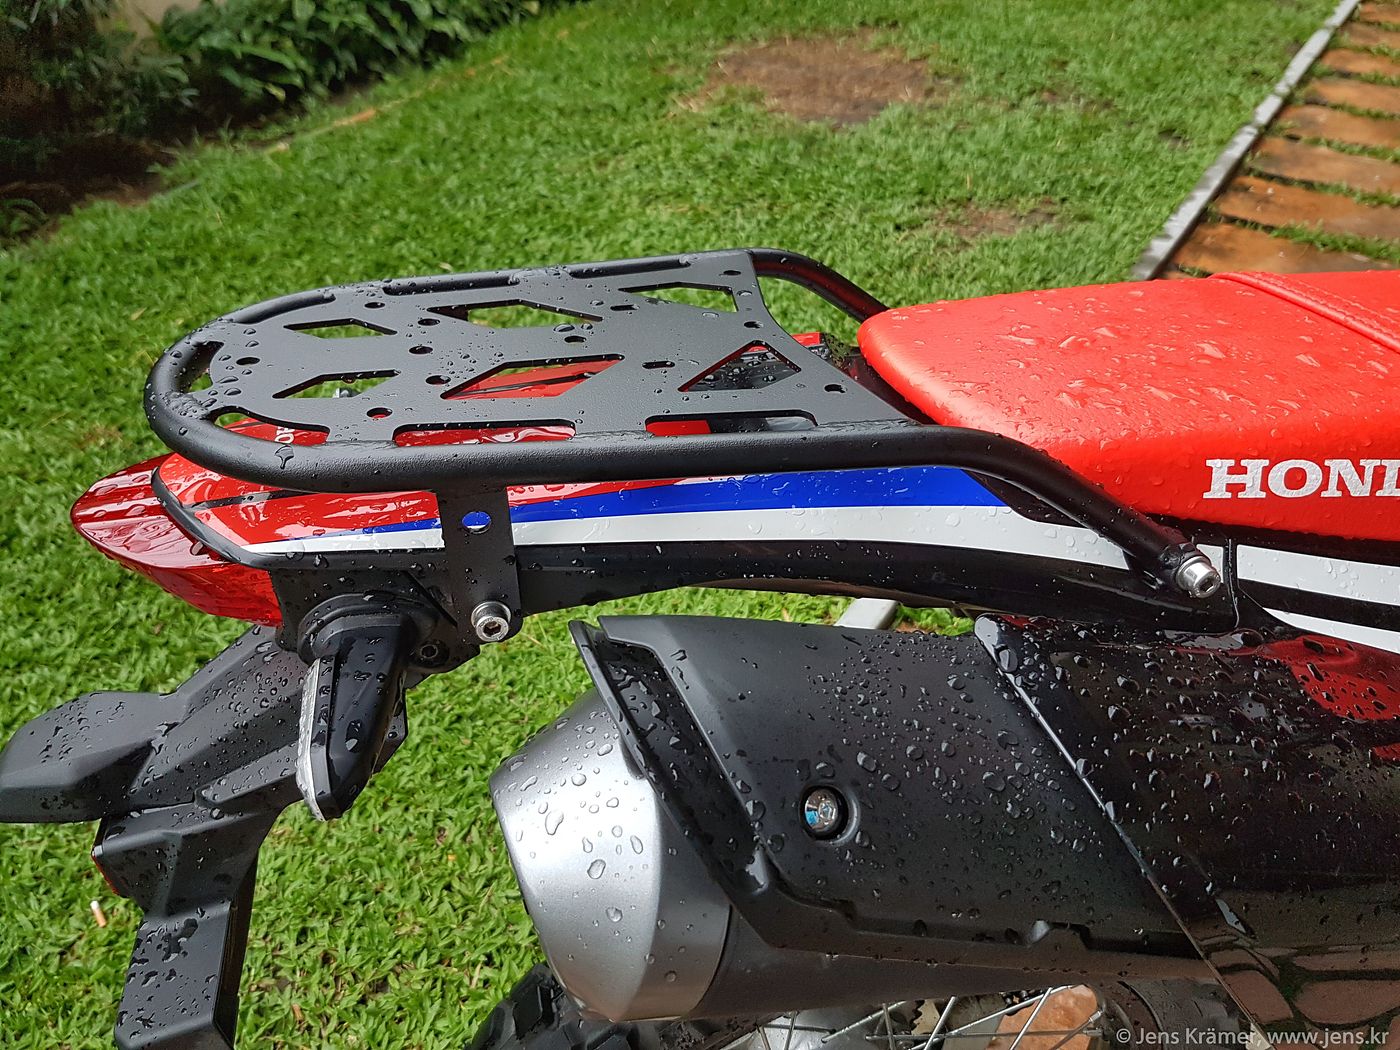
A clean and simple PM Racks rear rack was actually the first piece of hardware I added. Below you can see it empty and with a Kriega OS-12 mounted to it.
Later I decided to invest in a Mosko Moto Nomad tank bag and Backcountry 30L tail bag. All the praise you will find when you search online for their products is actually true. This is awesome stuff - well thought out and built to last.
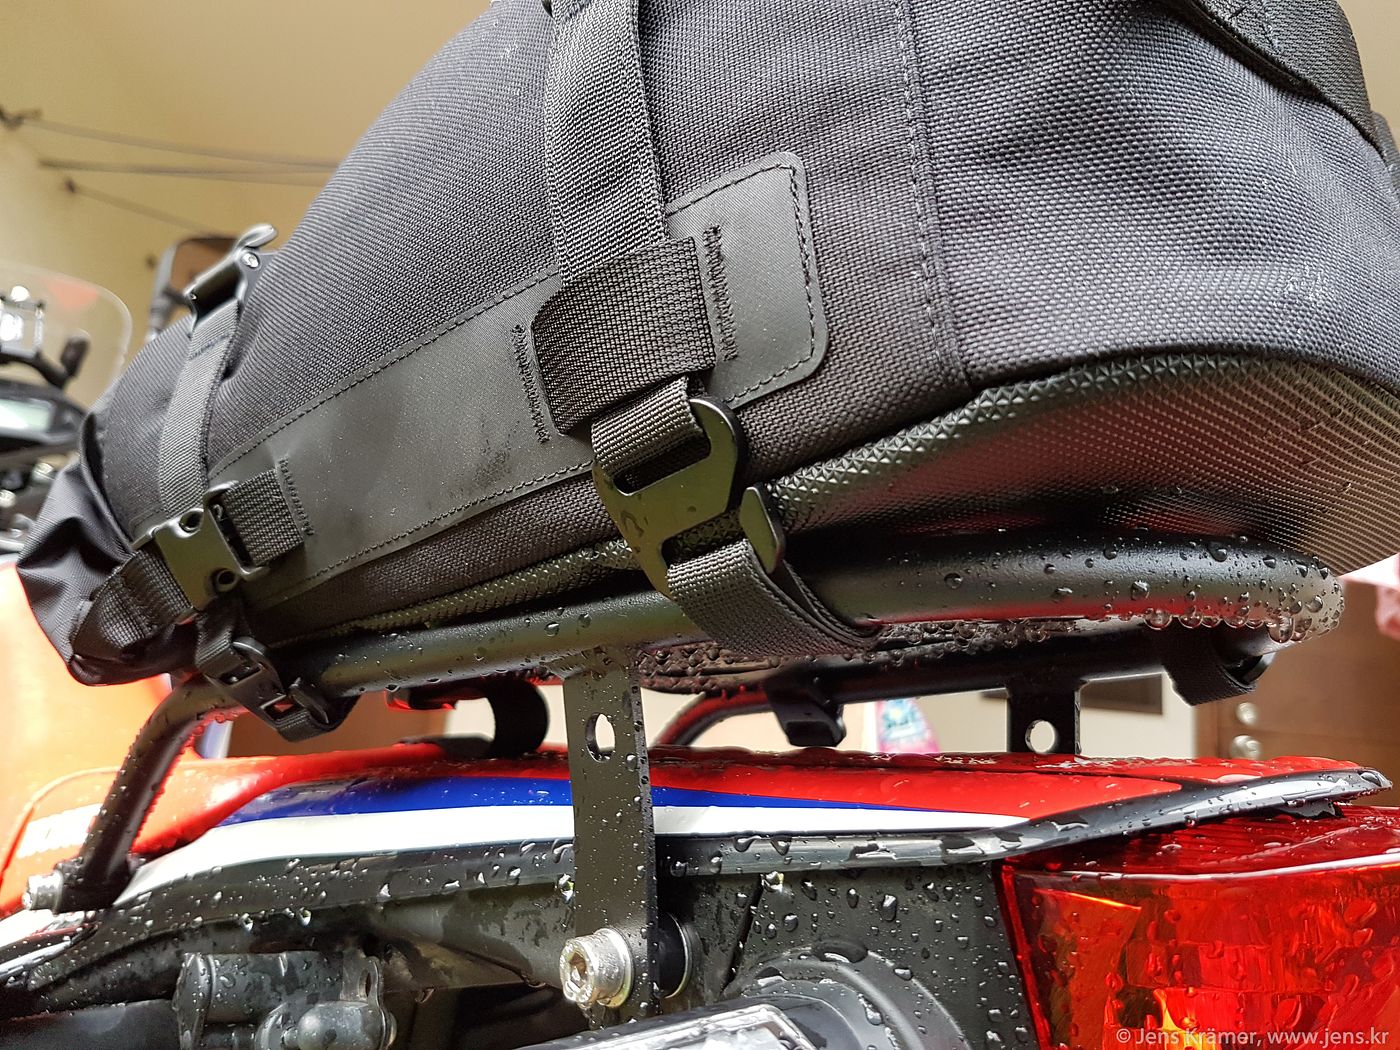
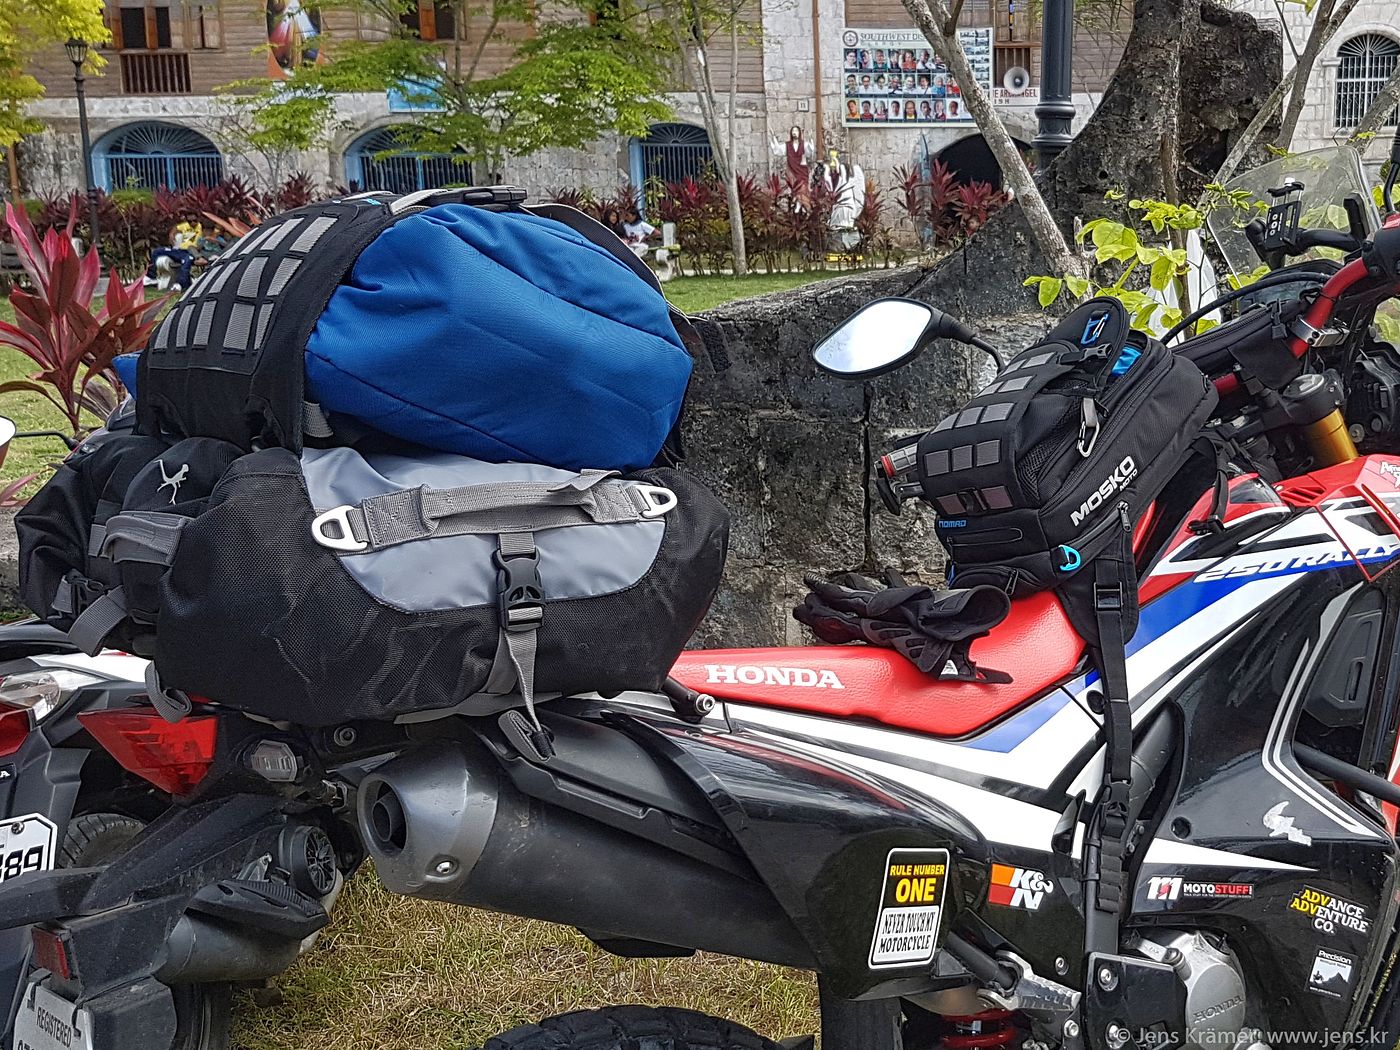
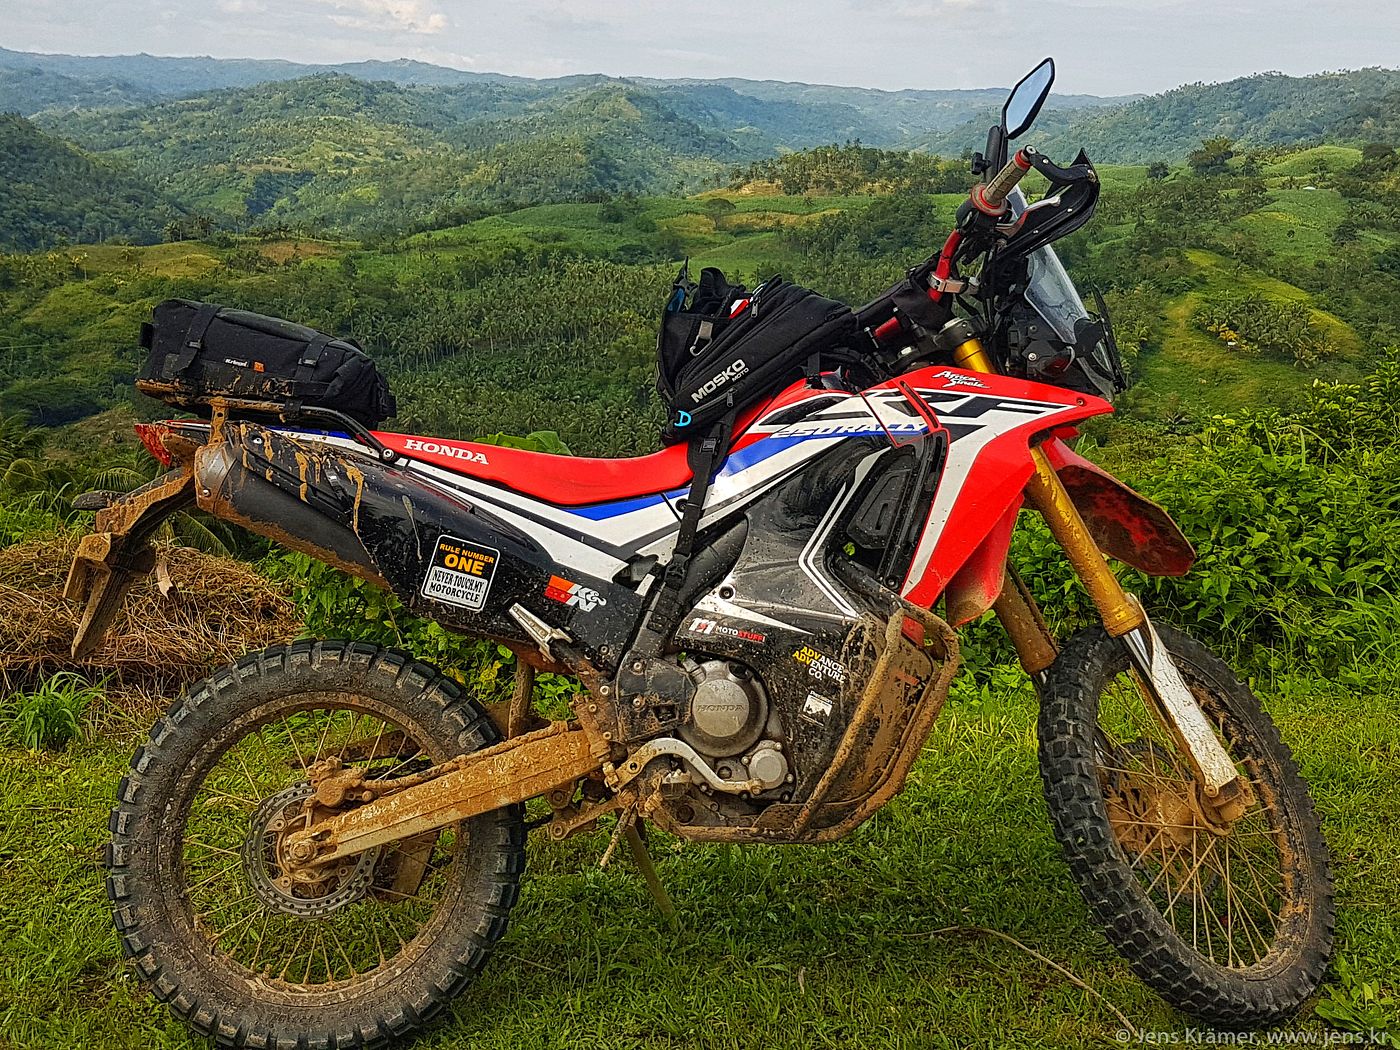
I use the Kriega bag for shorter (day) trips where the Backcountry would be overkill. It easily fits tools, pump, spare tubes, water, my rain jacket and still has room to spare.
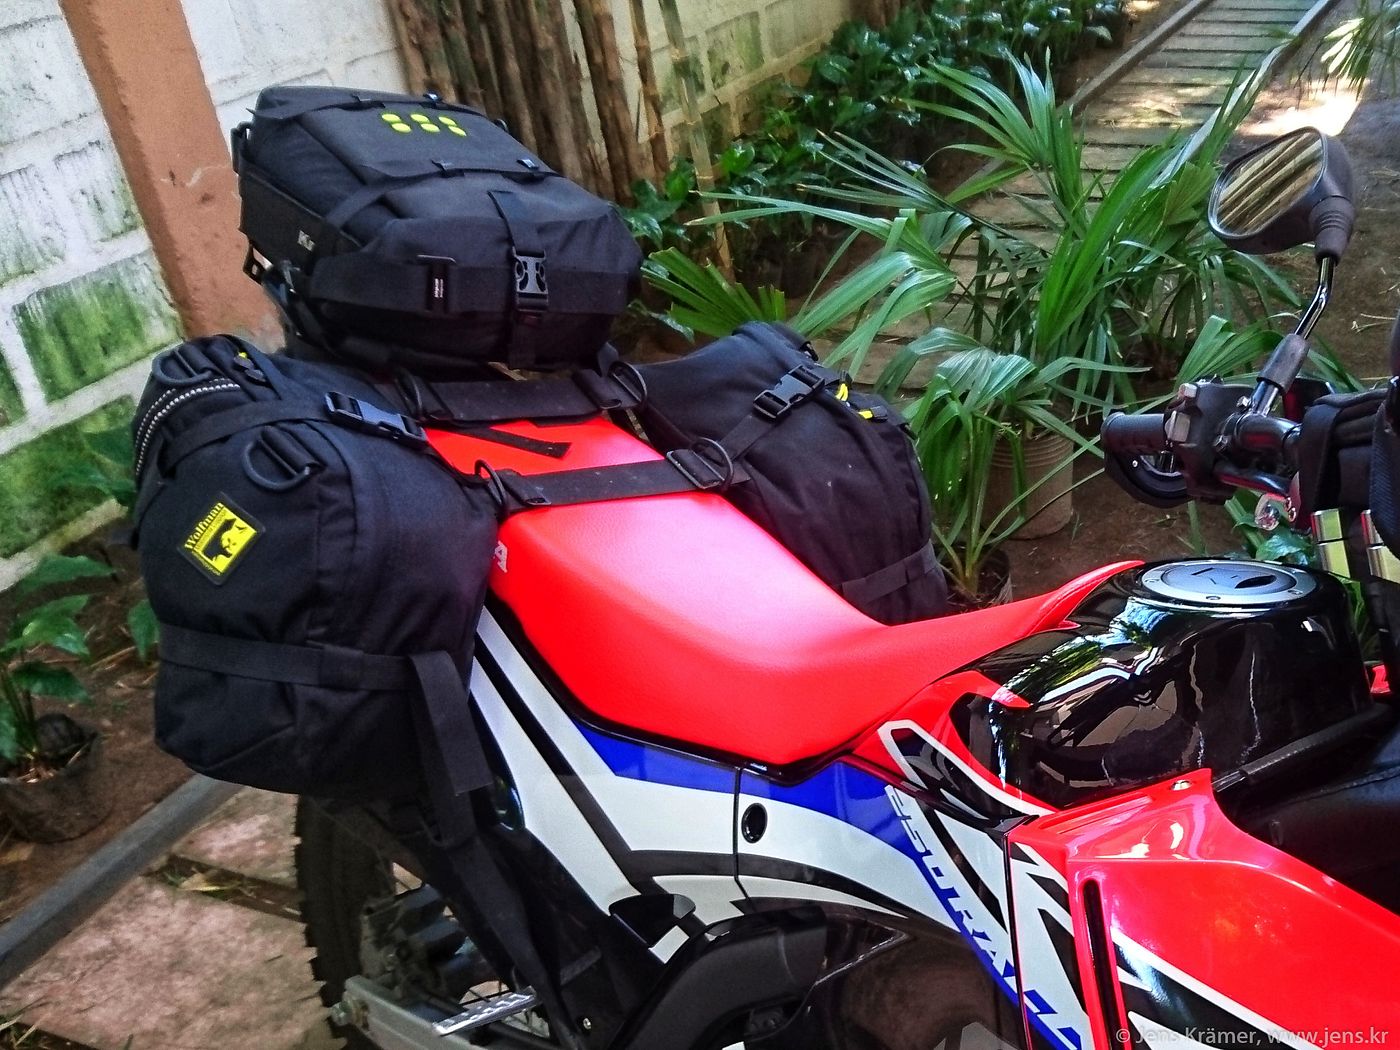
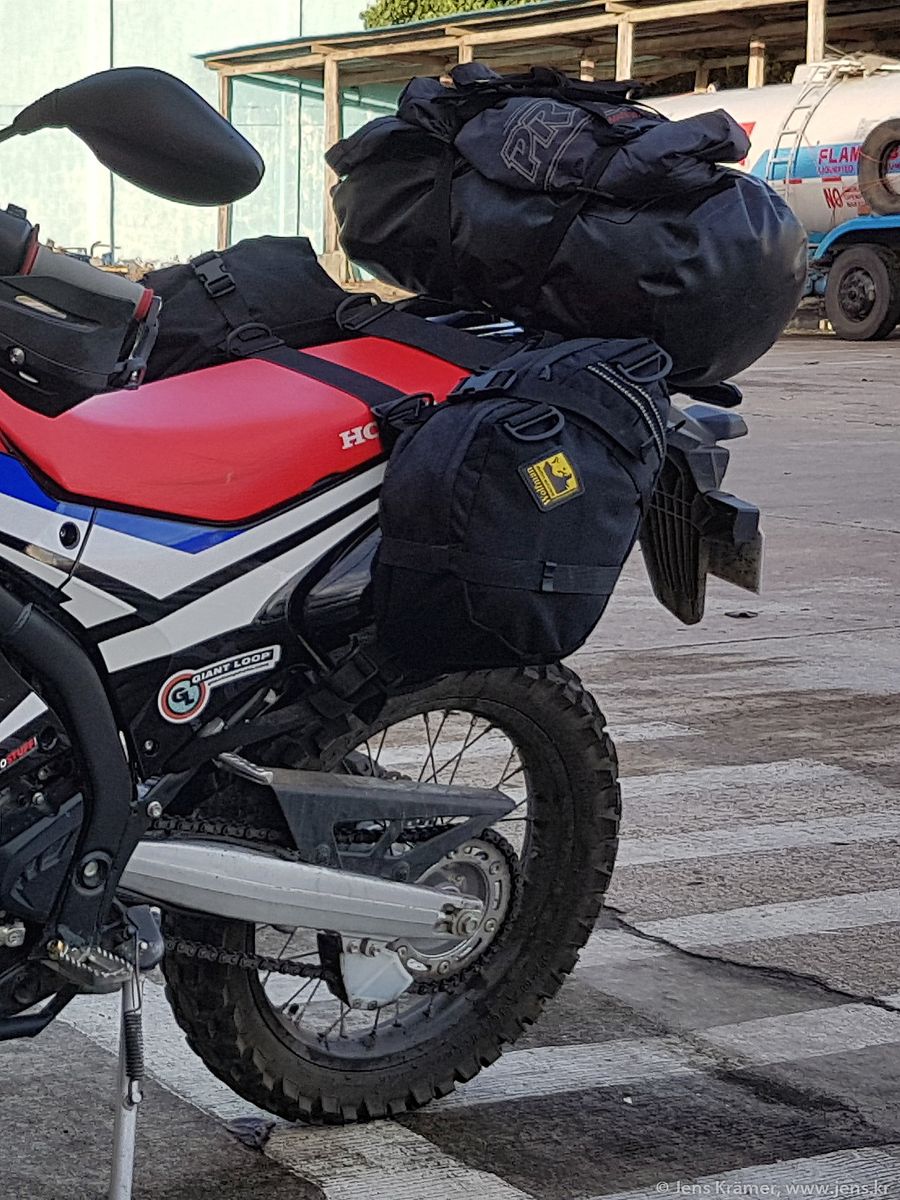
Last but not least, there is a pair of Wolfman E-12 Saddle Bags which I originally bought for my KLX 150L.
I can combine these with the Backcountry or the Kriega for added capacity and to shift some weight from top rear to a lower point more upfront. I've also used them in combination with a large Wolfman dry bag before I got the Backcountry.
Handlebar, Levers, Hand Guards
I swapped the stock steel handlebar for a Renthal Fatbar (CR-High bend).
The adapters which are necessary because of the bigger bar diameter give it nearly 1" rise which is just about right for me (I'm 180cm).
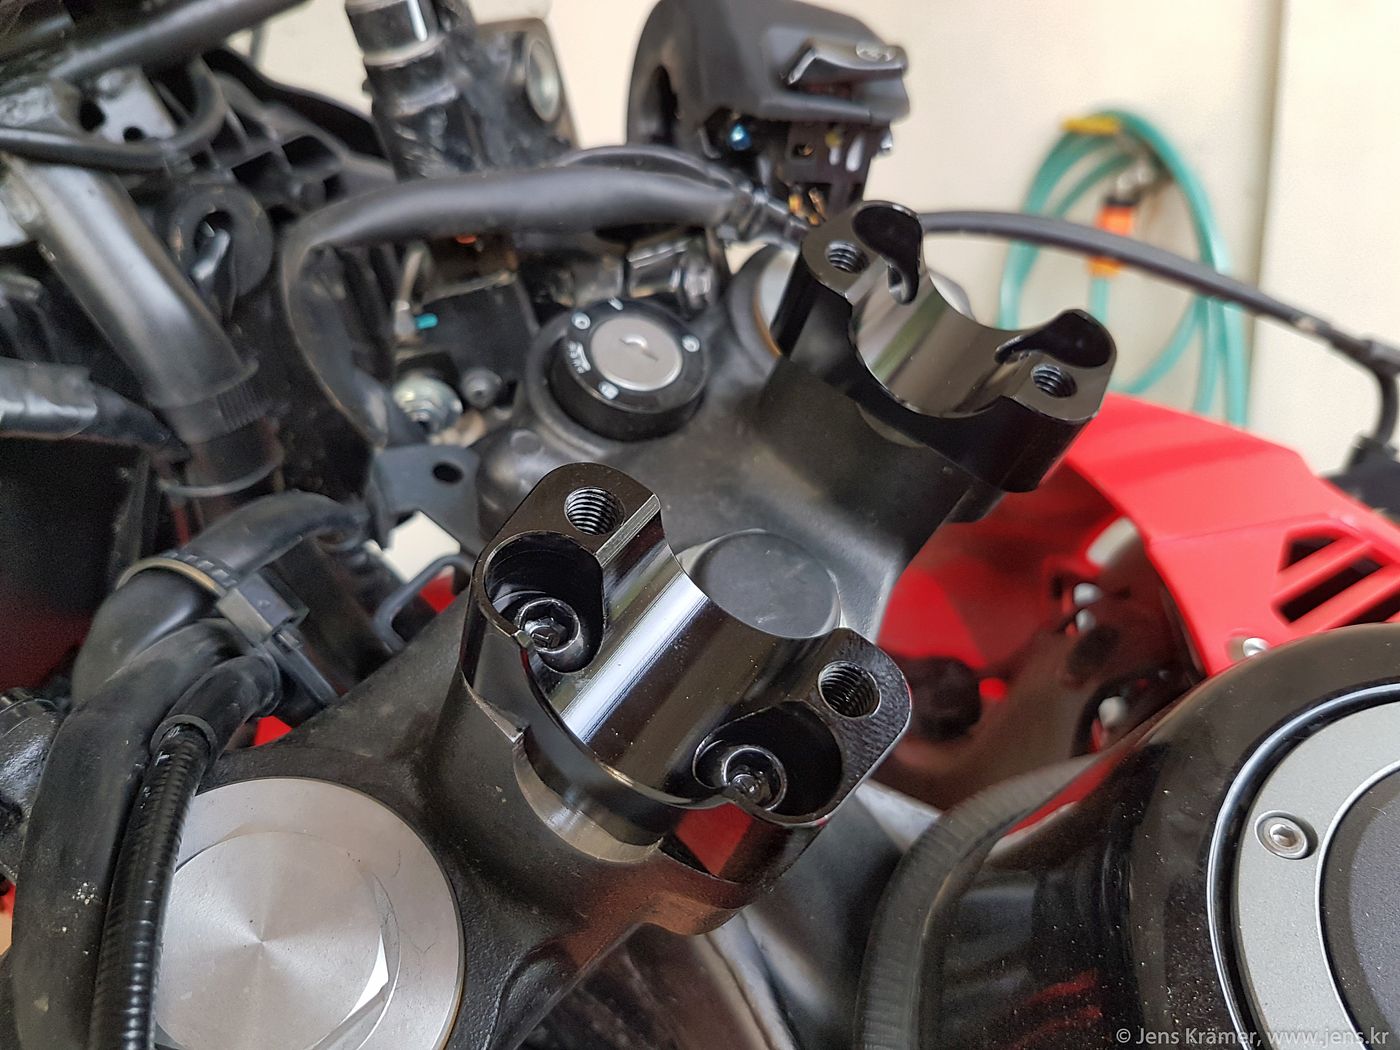
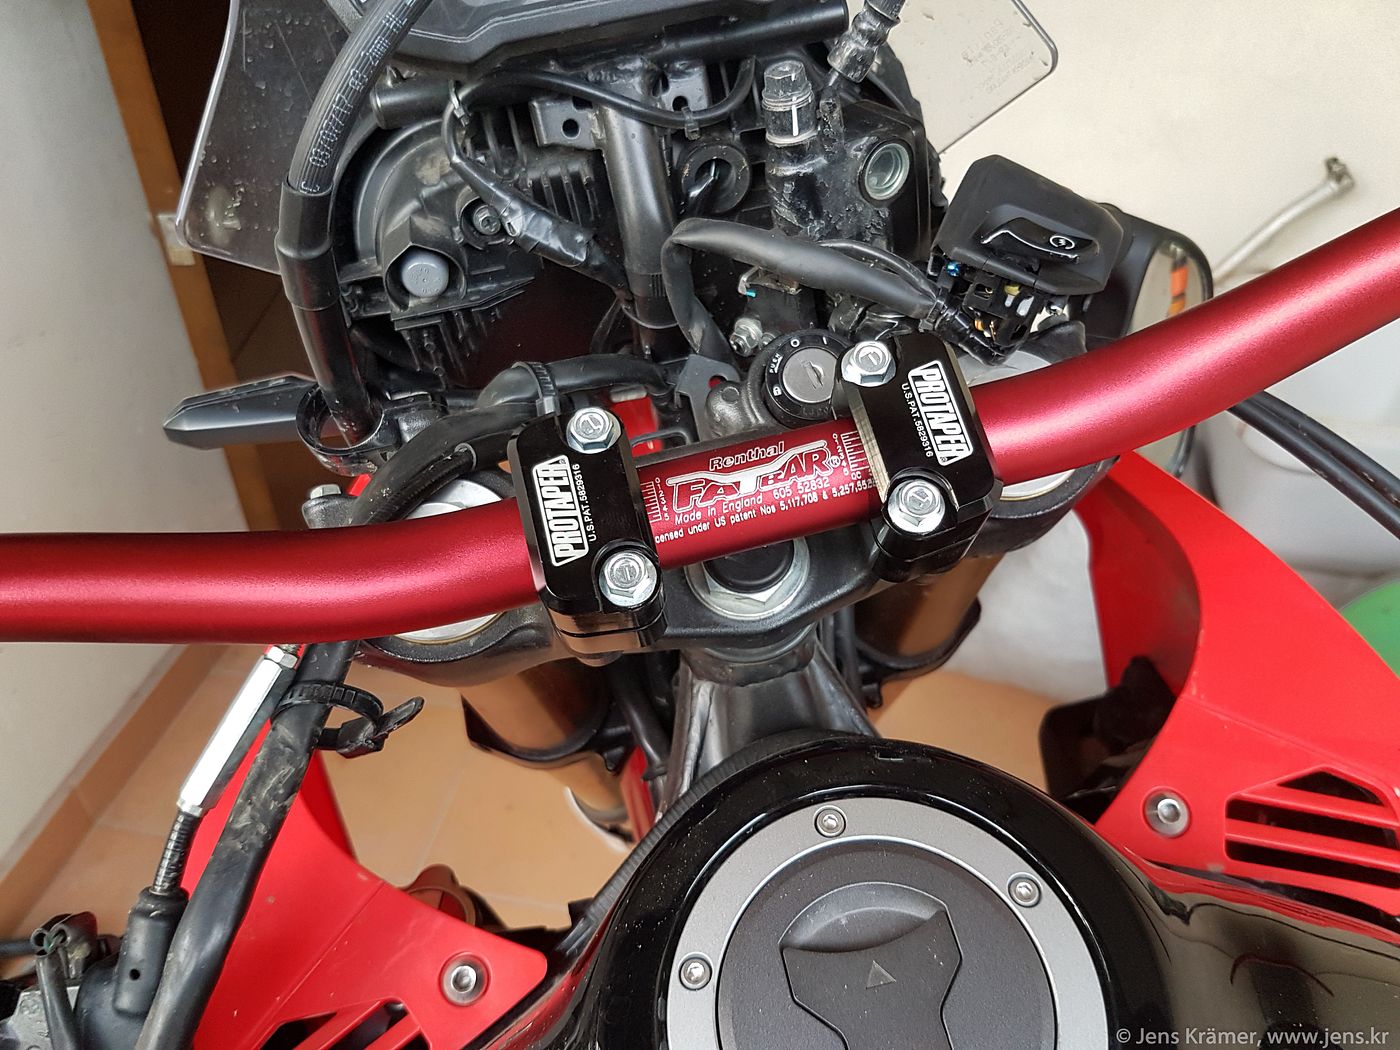
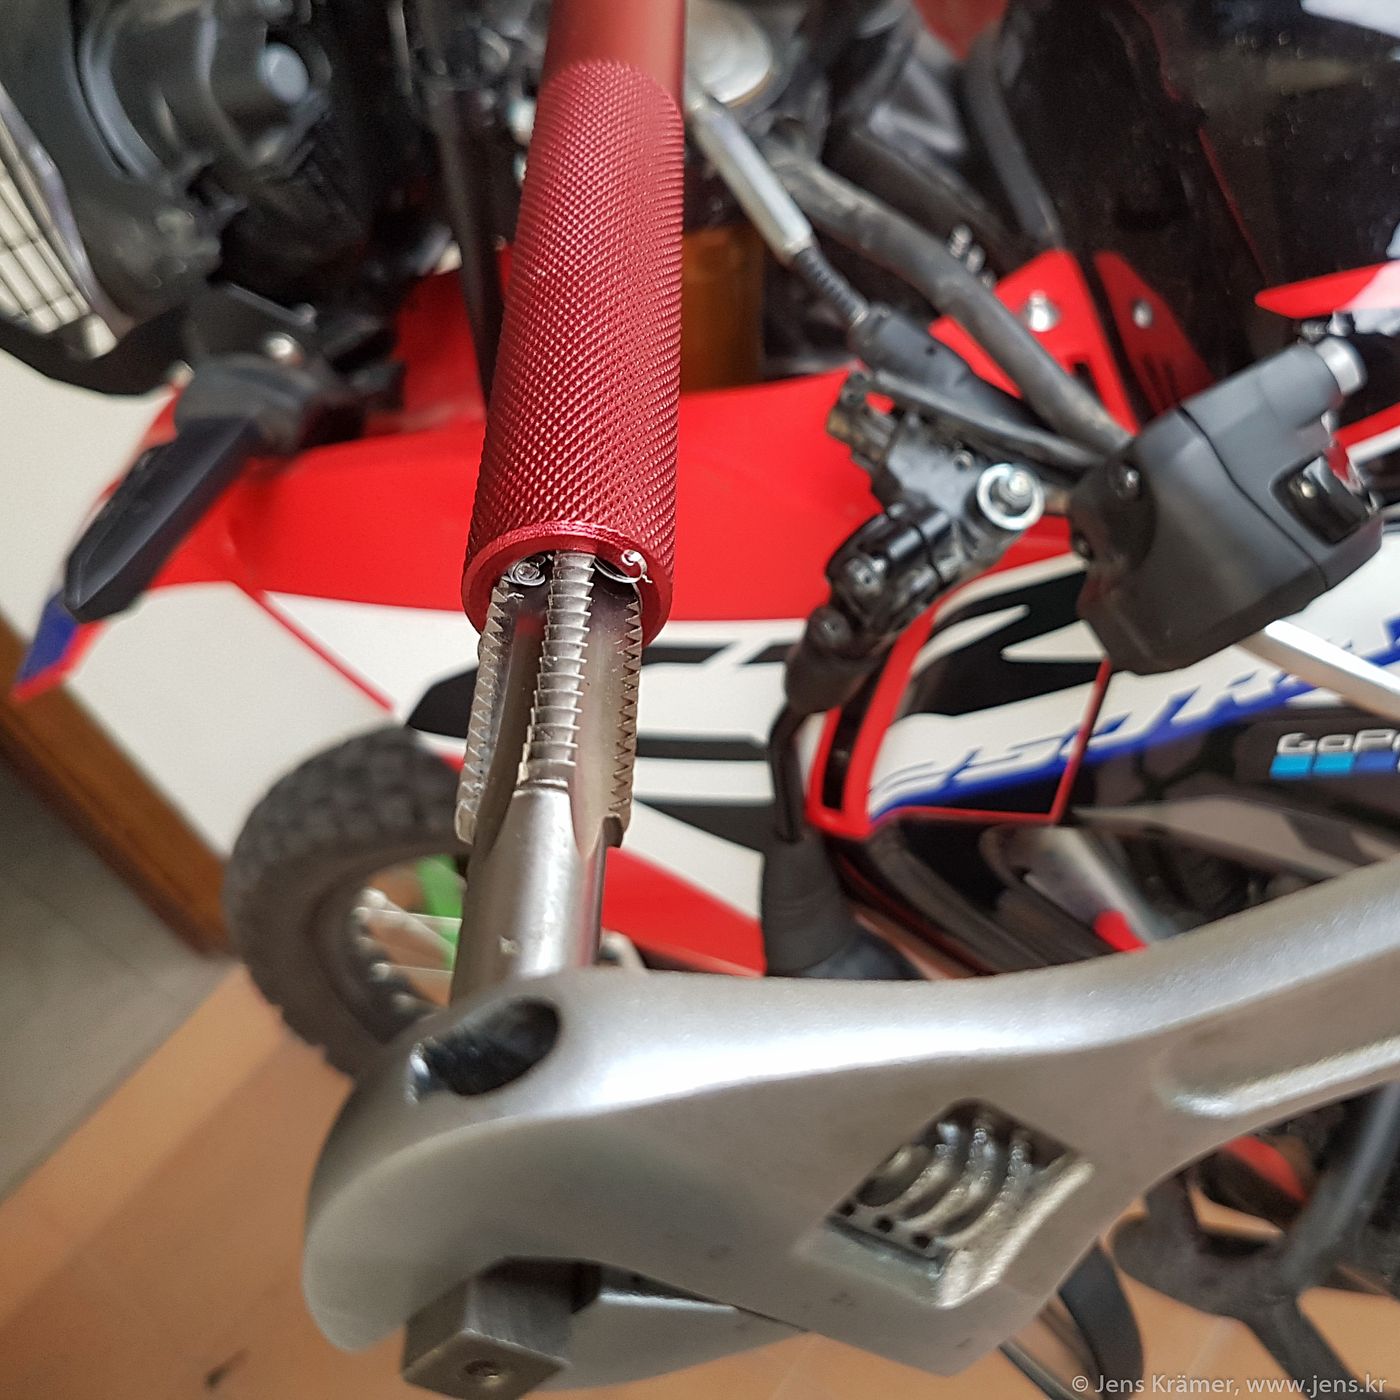
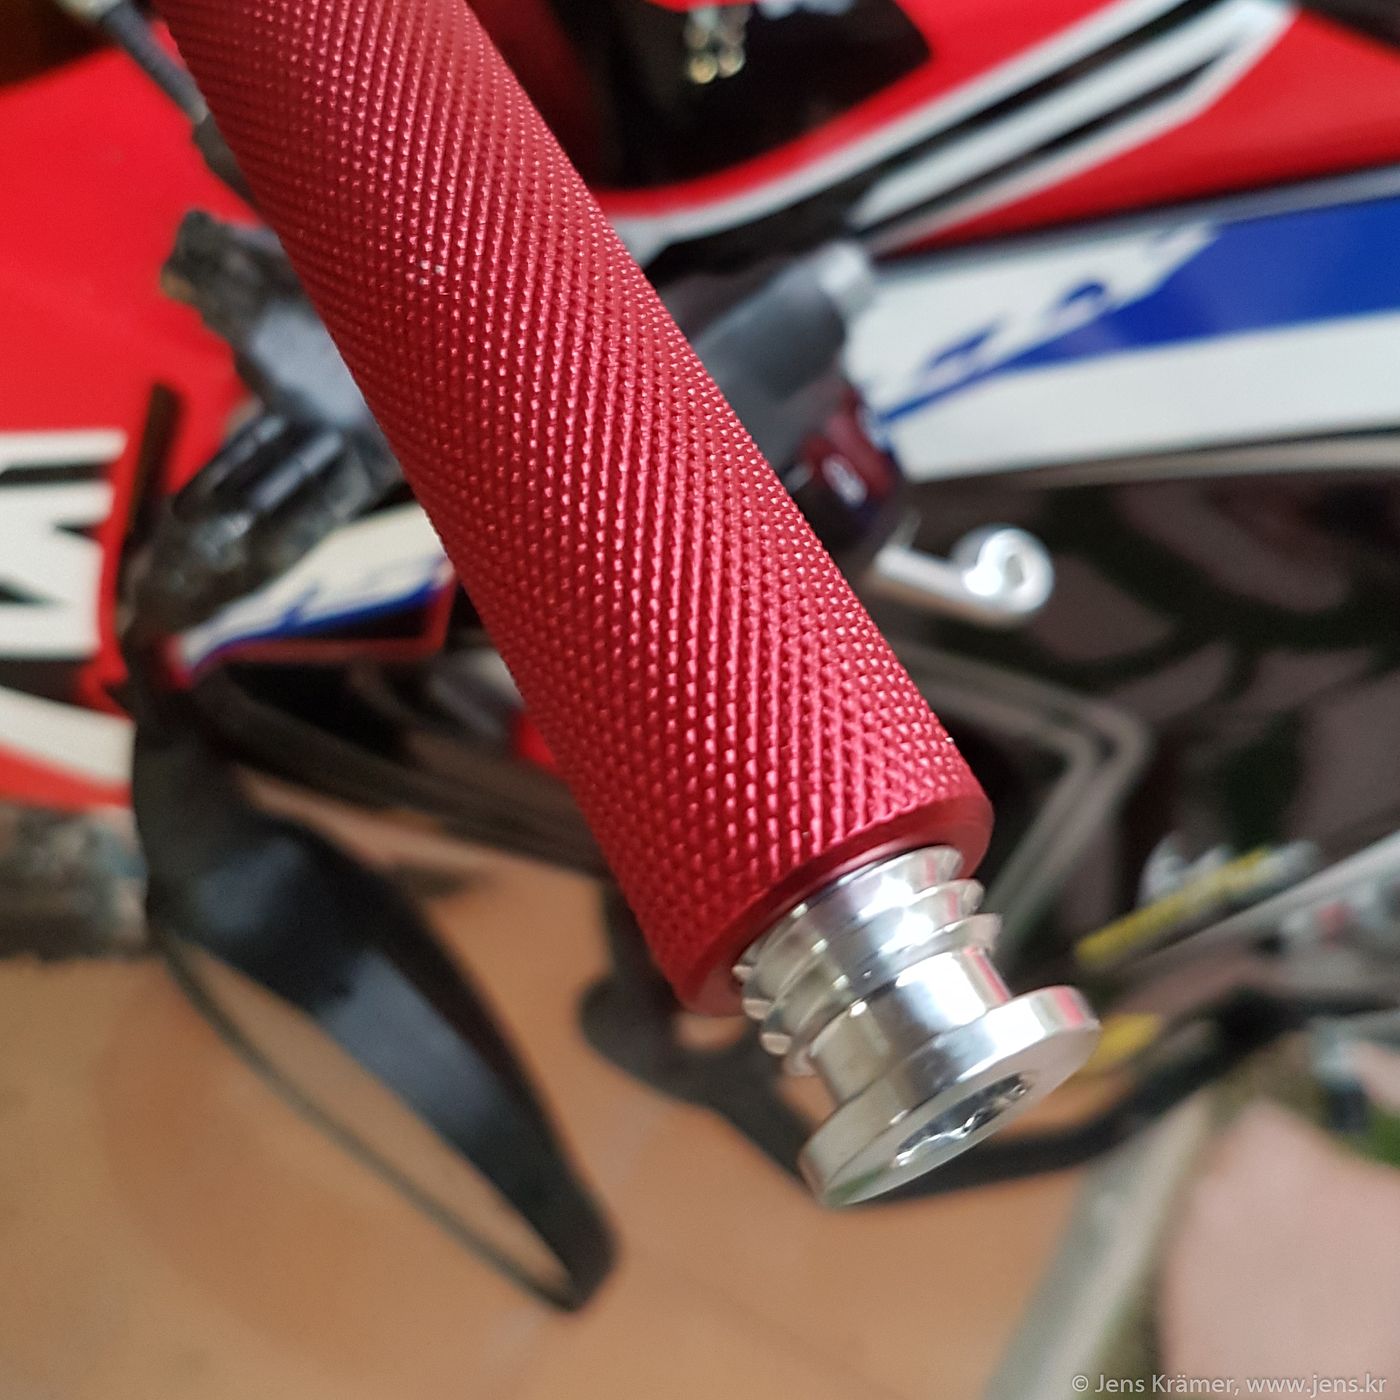
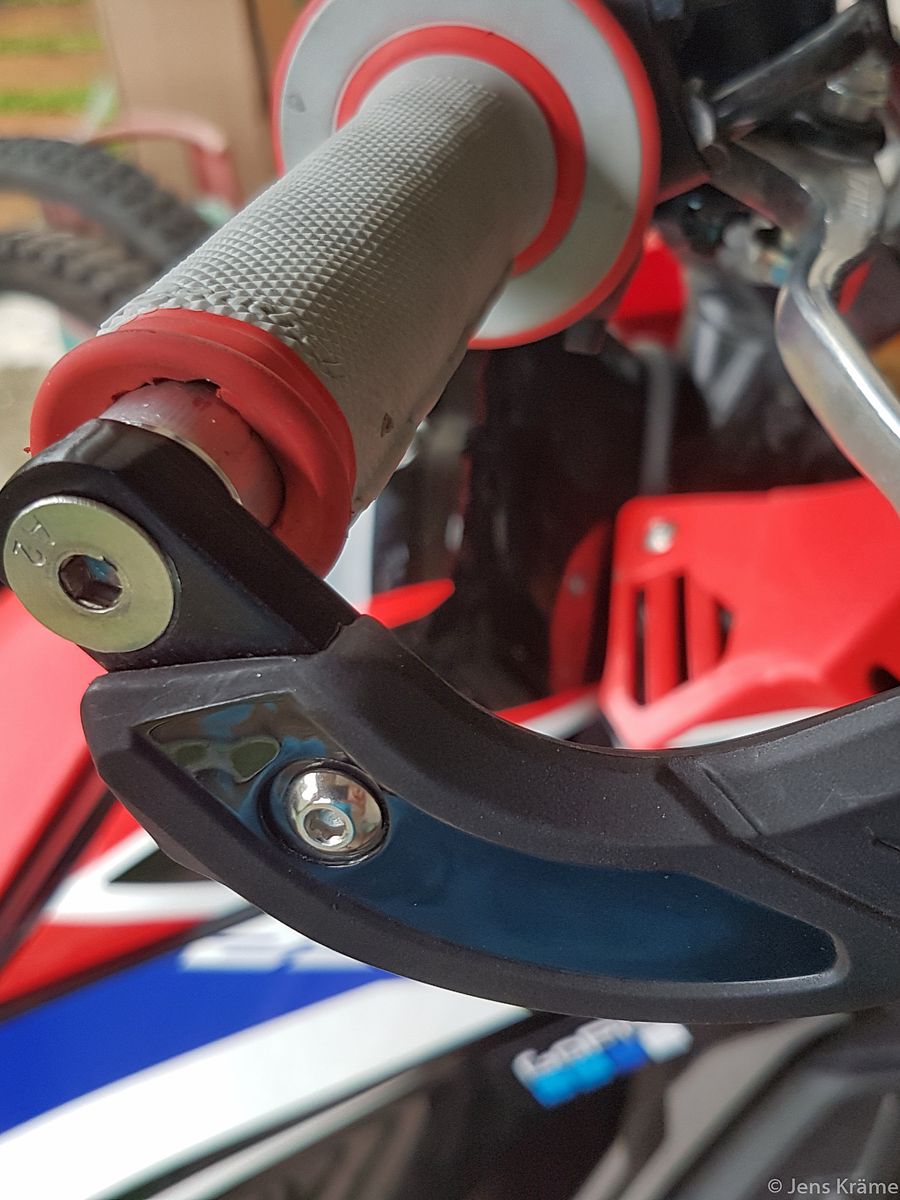
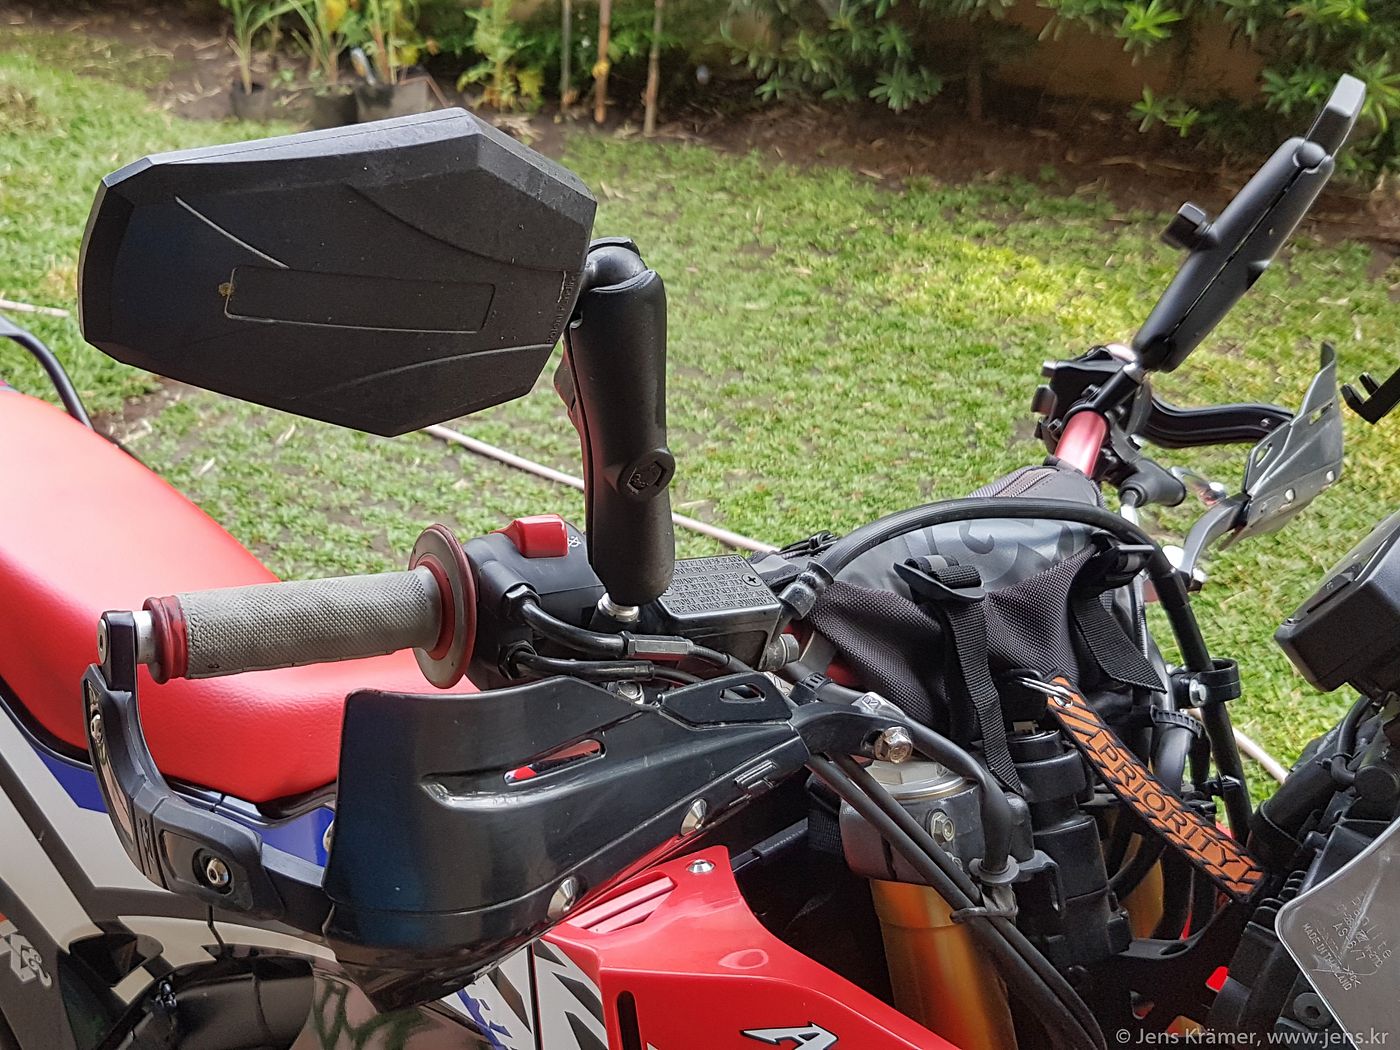
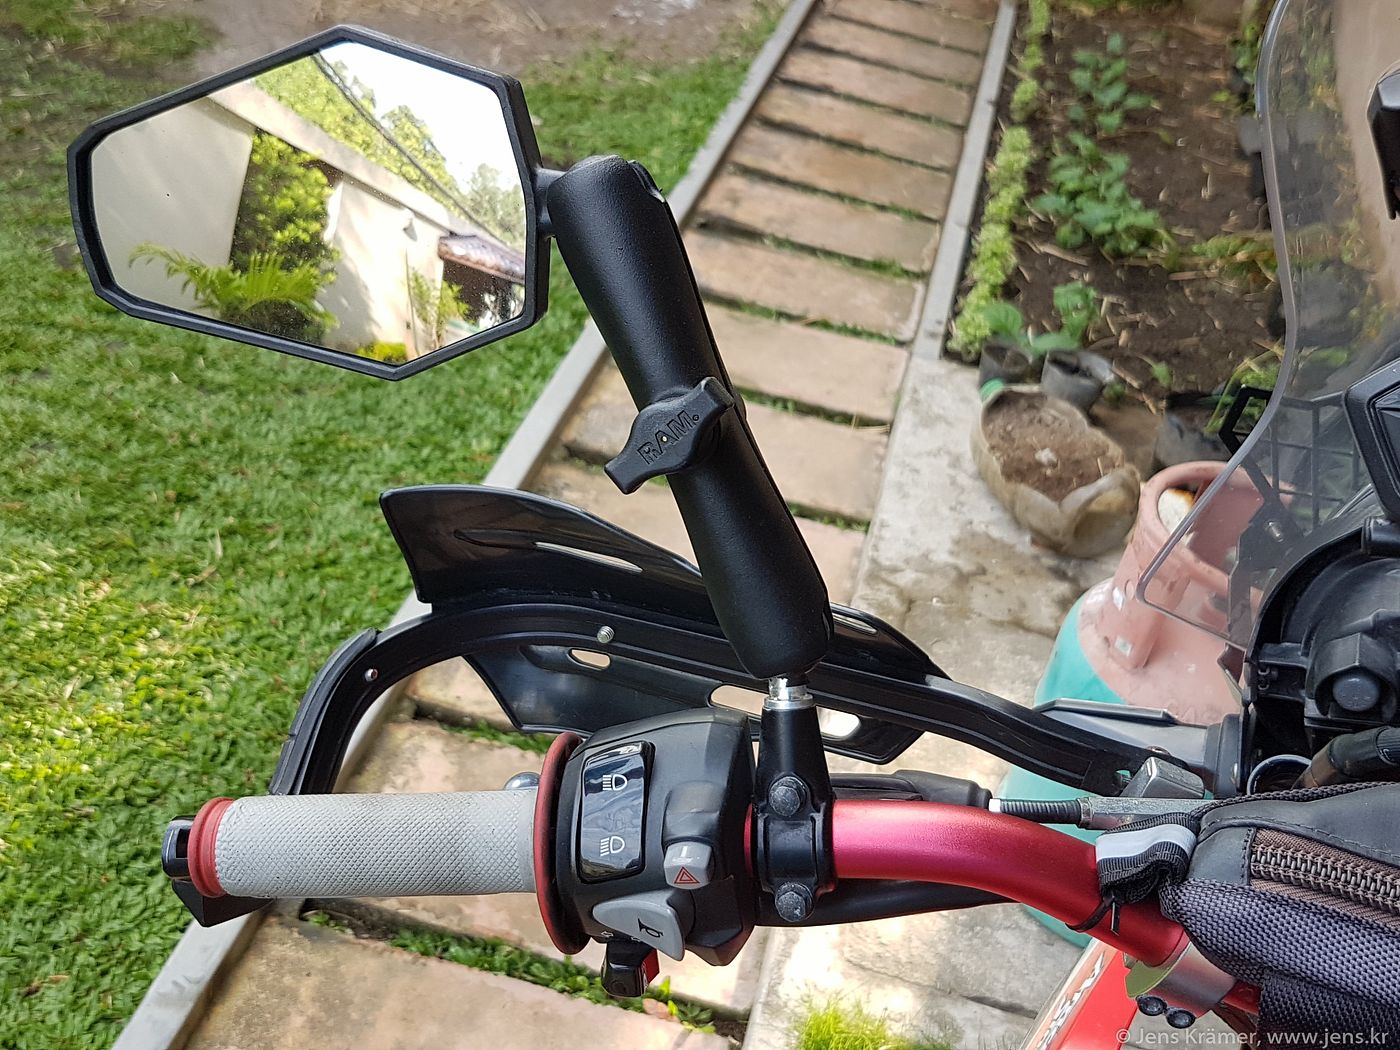
Since the stock handguards are at best able to serve as wind protection, I replaced them with Zeta Armor pro hand guards. For attaching them to the Fatbar you need matching U-clamps and while not totally necessary I feel it's also better to use threaded bar end inserts. These come as a set of two along with a matching tap that you will use to cut a thread inside the bar.
I put a small aluminum spacer (may also use some washers of suitable size instead) between bar end and the hand guard for two reasons:
- it prevents the grip from touching the hand guard, which is important on the throttle side and gives an overall nicer look on both sides
- with the spacers I had to bend the hand guards a bit less to make them fit.
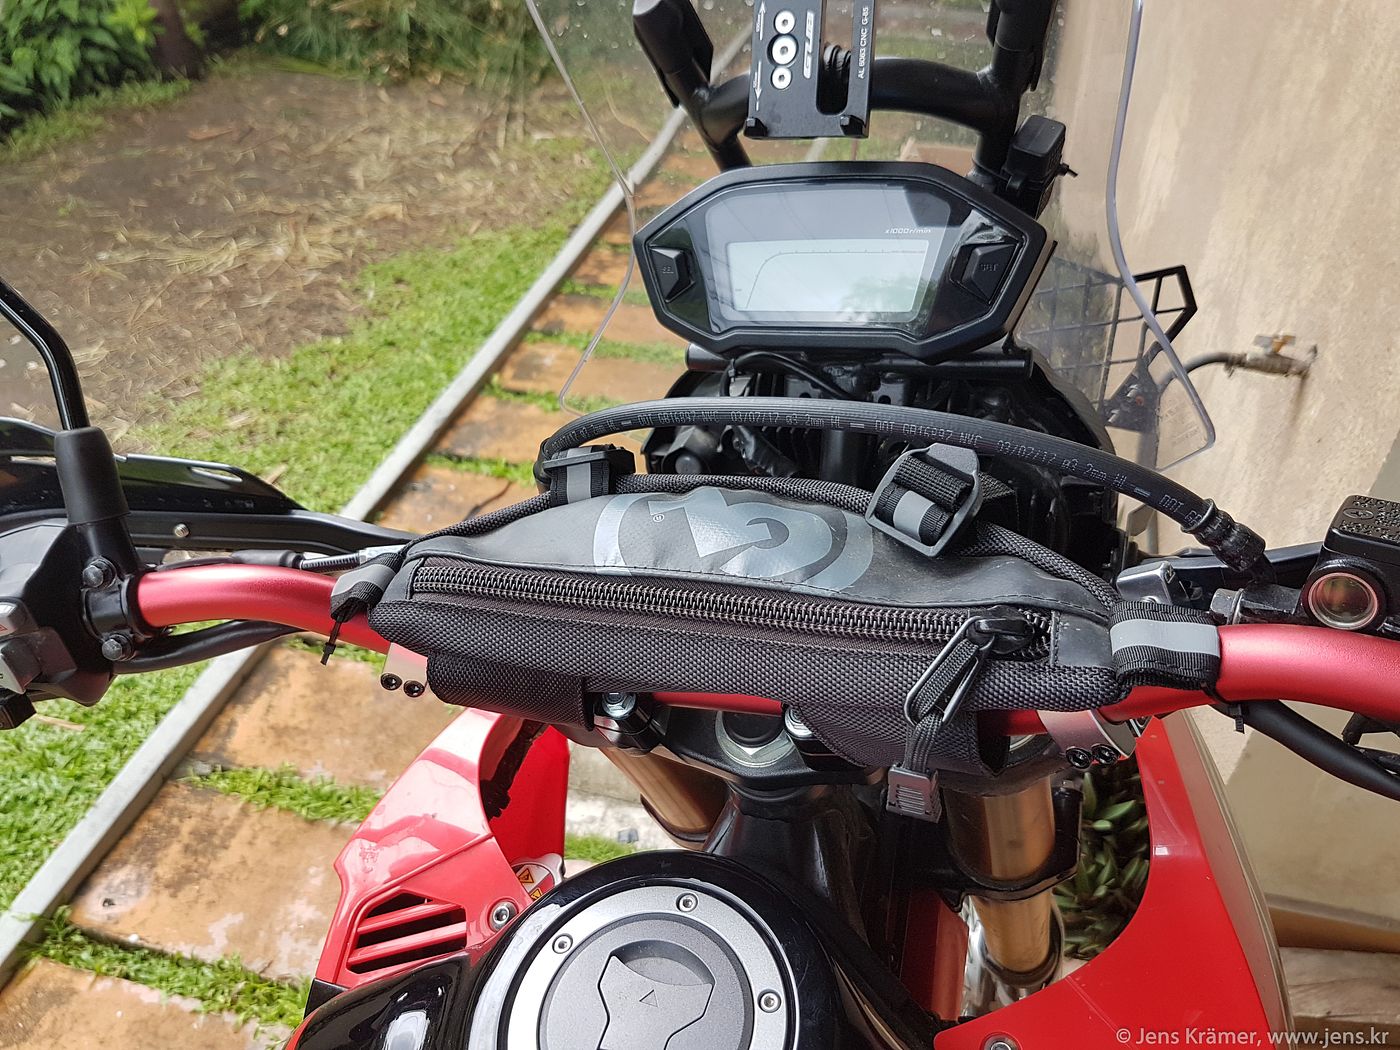
I also replaced both levers with slightly shorter ones (RALLY 490 Short Lever Set). Better than stock but I'm still looking for adjustable short levers that actually fit.
Lastly I installed a set of Doubletake mirrors for foldability and better looks. That Giant Loop ZigZag handle bar bag you can see on the photos is super practical for storing small items like change etc especially when I'm not using the tank bag.
Foot pegs
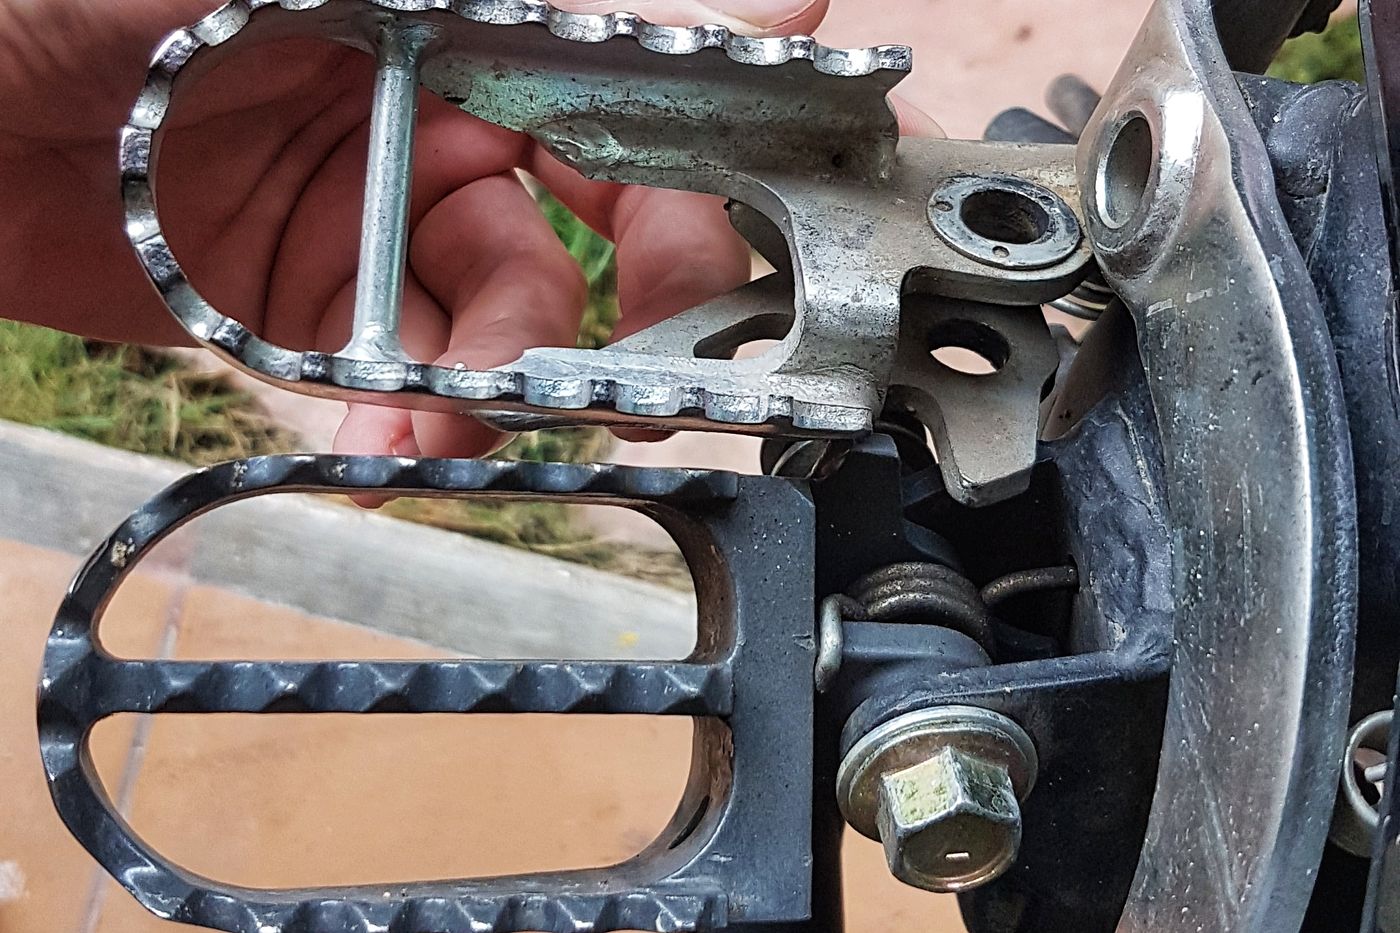
The stock pegs are OK but I wanted something bigger. The IMS pro series replacements I found aren't huge but they do provide a little more surface and have pointier teeth for better grip.
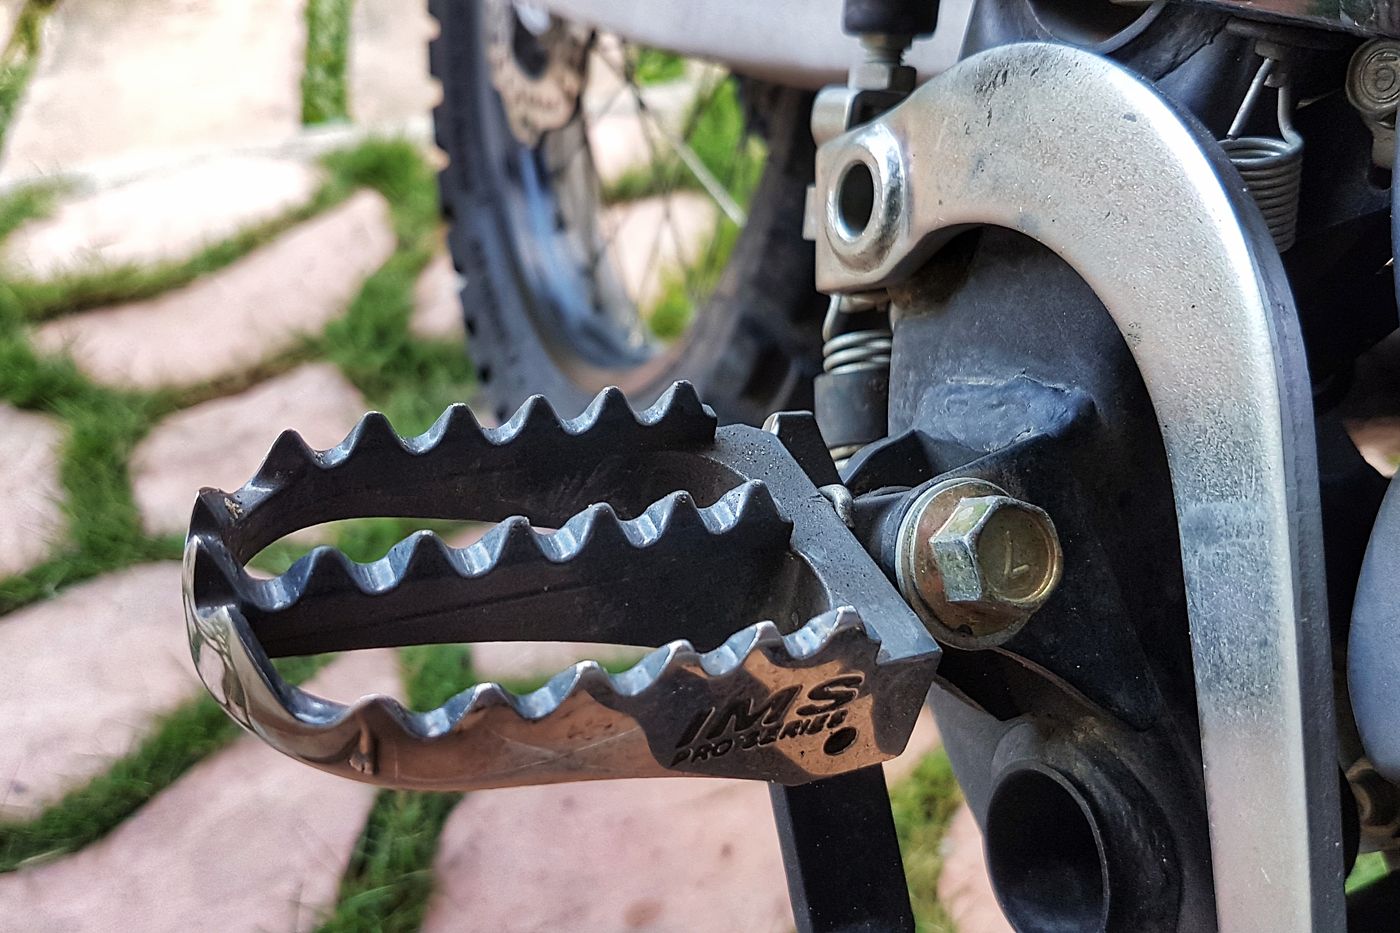
Rear Shock
From the factory the bike is set up for a relatively lightweight rider only. You can max out the preload adjustment and make it a bit better but the shock lacks rebound control and the spring is just too weak to support 2 people on the bike, or any serious amount of luggage, or going fast in rough terrain.
Having heard many good things about YSS shocks I ordered one from Bikerzbits in Thailand.
Installation was relatively easy, just accessing the top mounting bolt without dismounting the whole subframe (which is what the service manual suggests) was a bit tricky.
I'm very happy with the result - it's definitely improved the handling 2up or with luggage on the rack. The bike also handles high speeds on rough tracks now with more ease.
Tires
Front
I'm running the stock IRC GP-21 (3.0-21) on the front. It's got about 10,000 km now and is pretty much done. The knobbies show uneven wear and the tire is really noisy now at higher speeds.
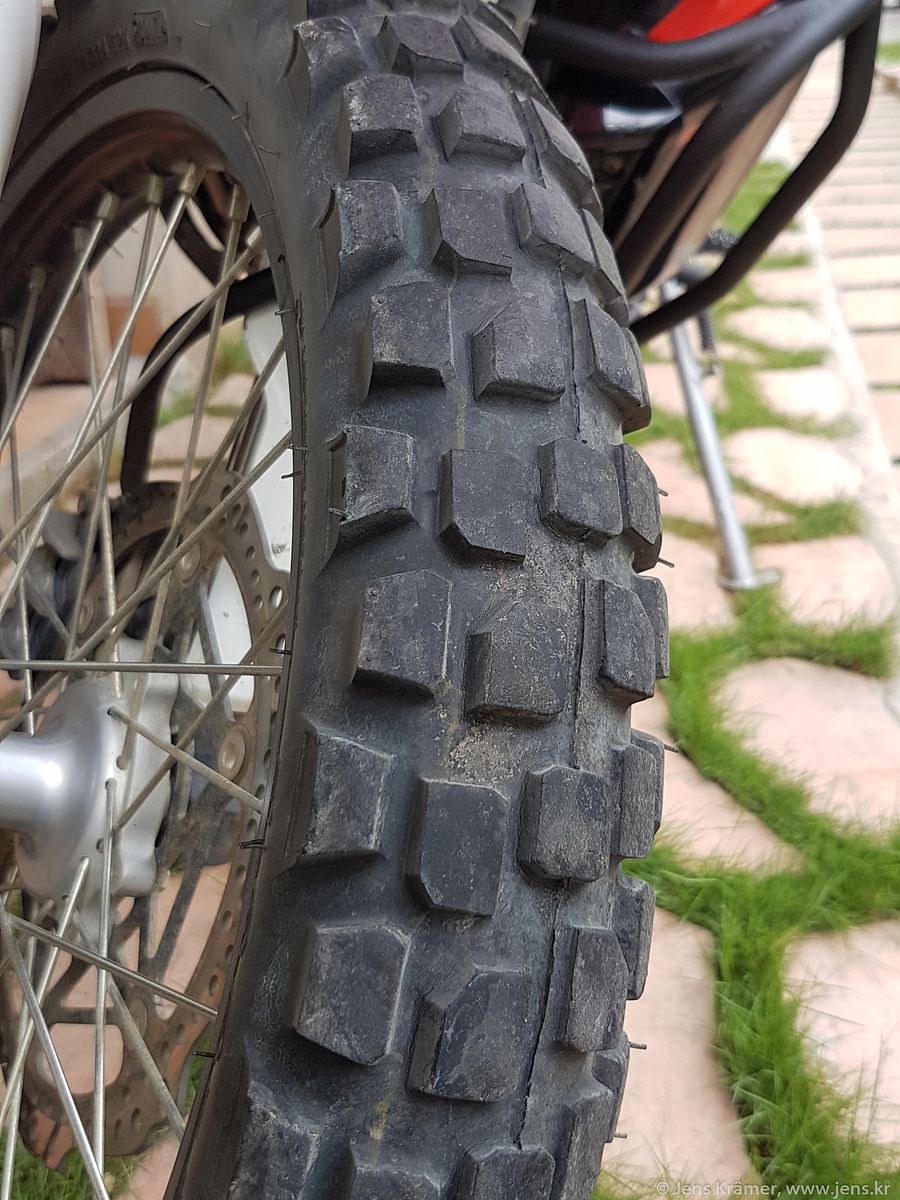
I think this is a pretty decent front tire for this bike which performs well on- and offroad and lacking better options I will stick to this model.
Rear
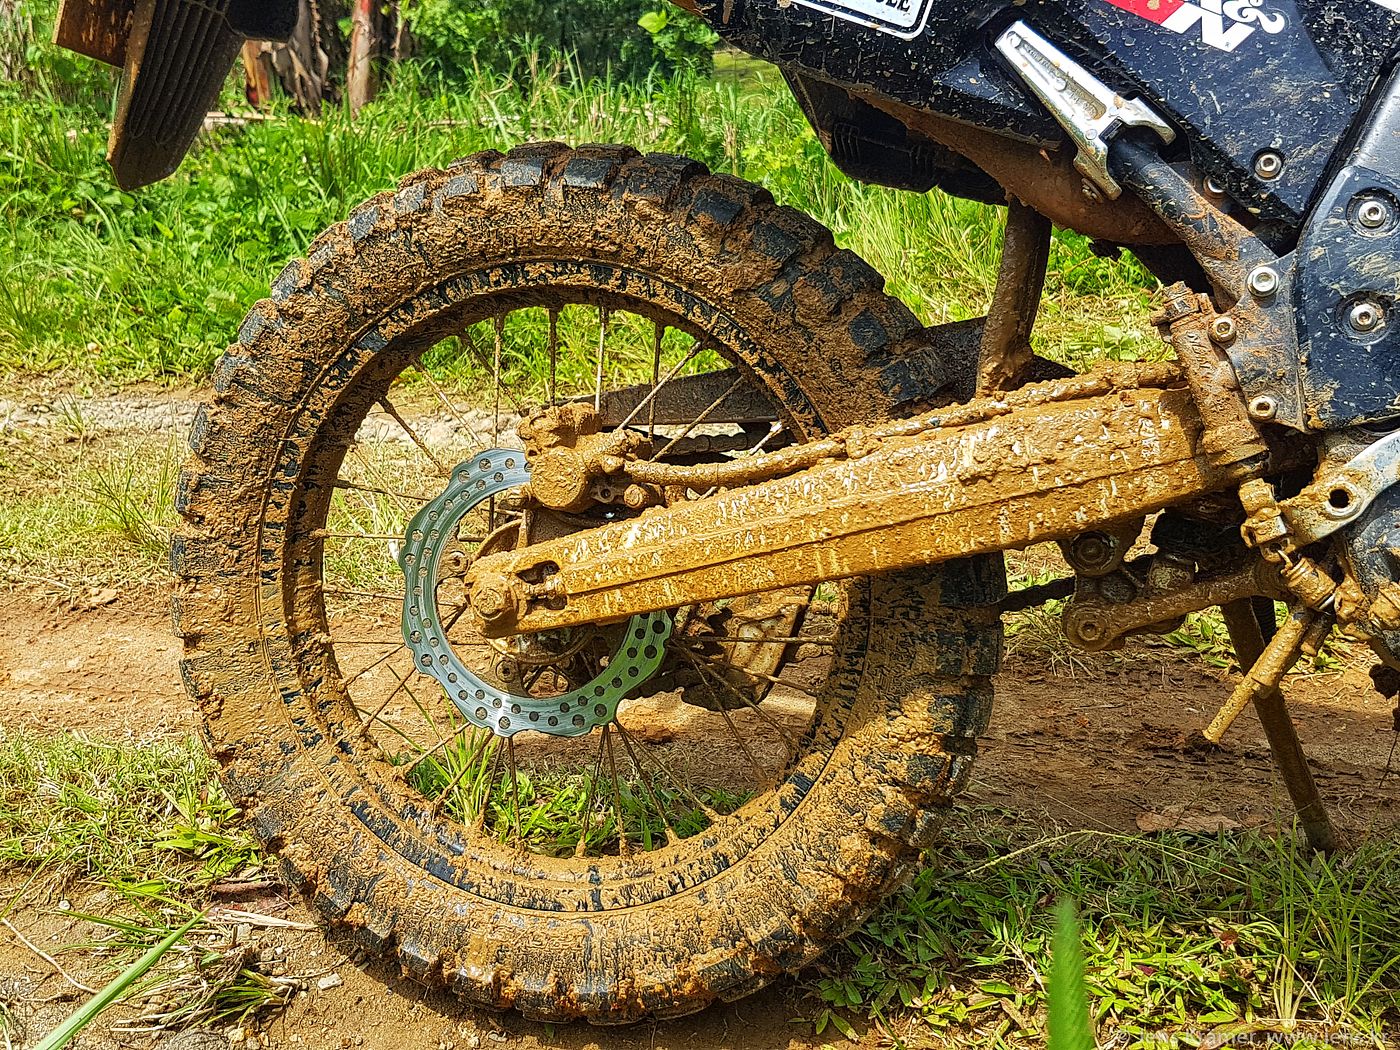
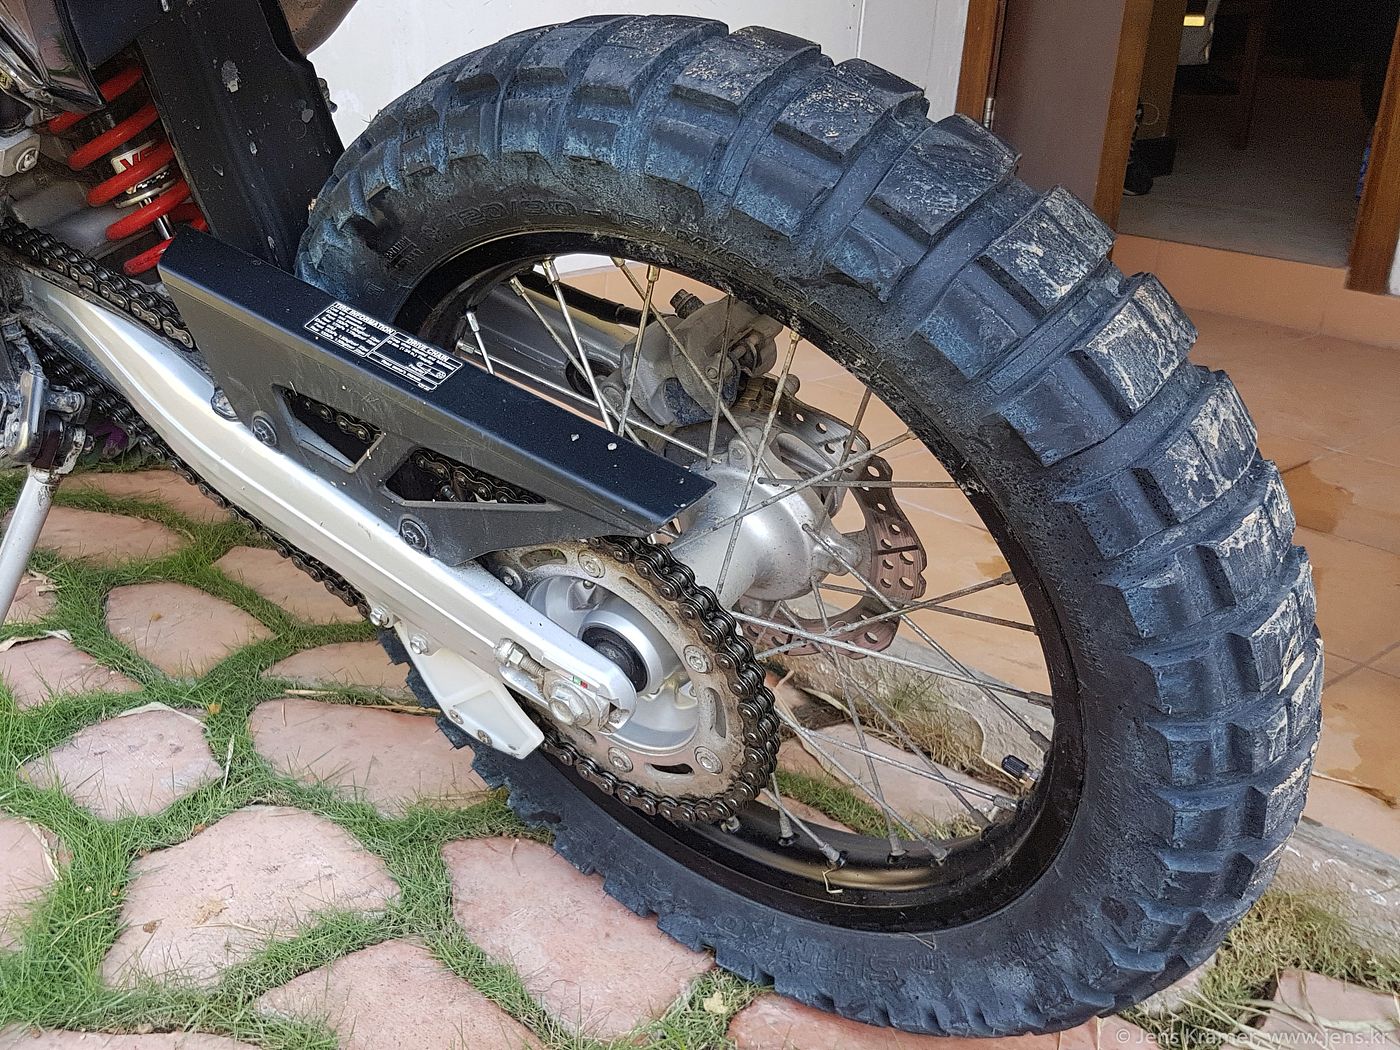
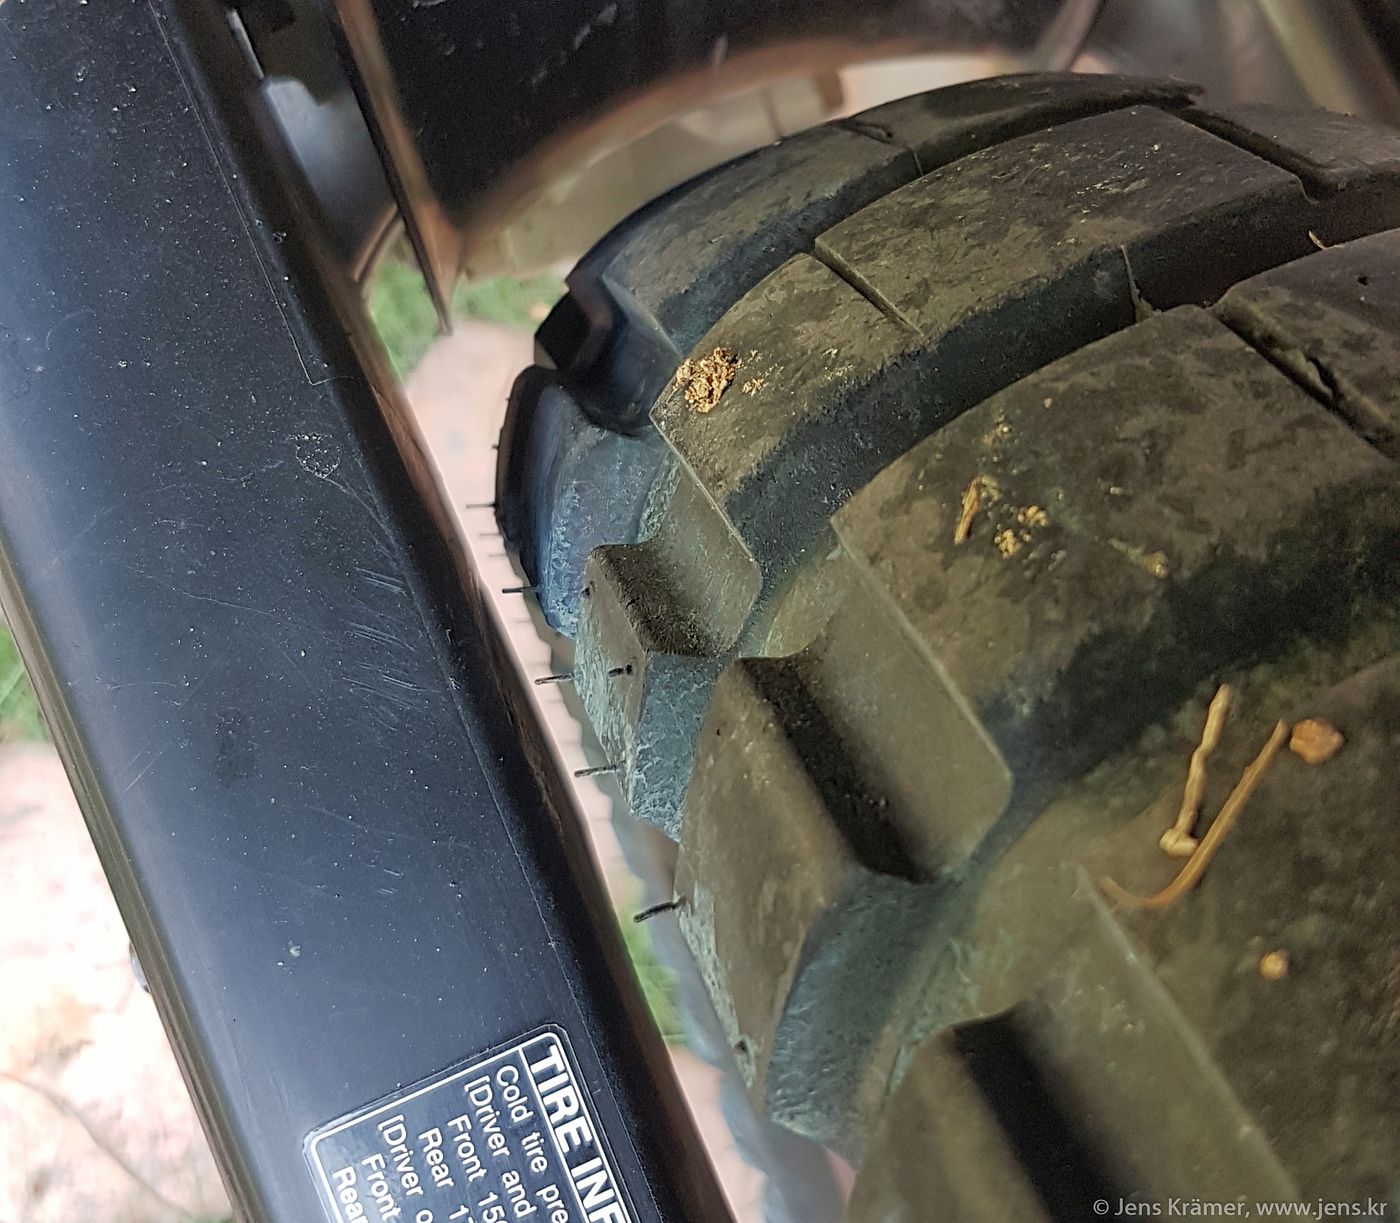
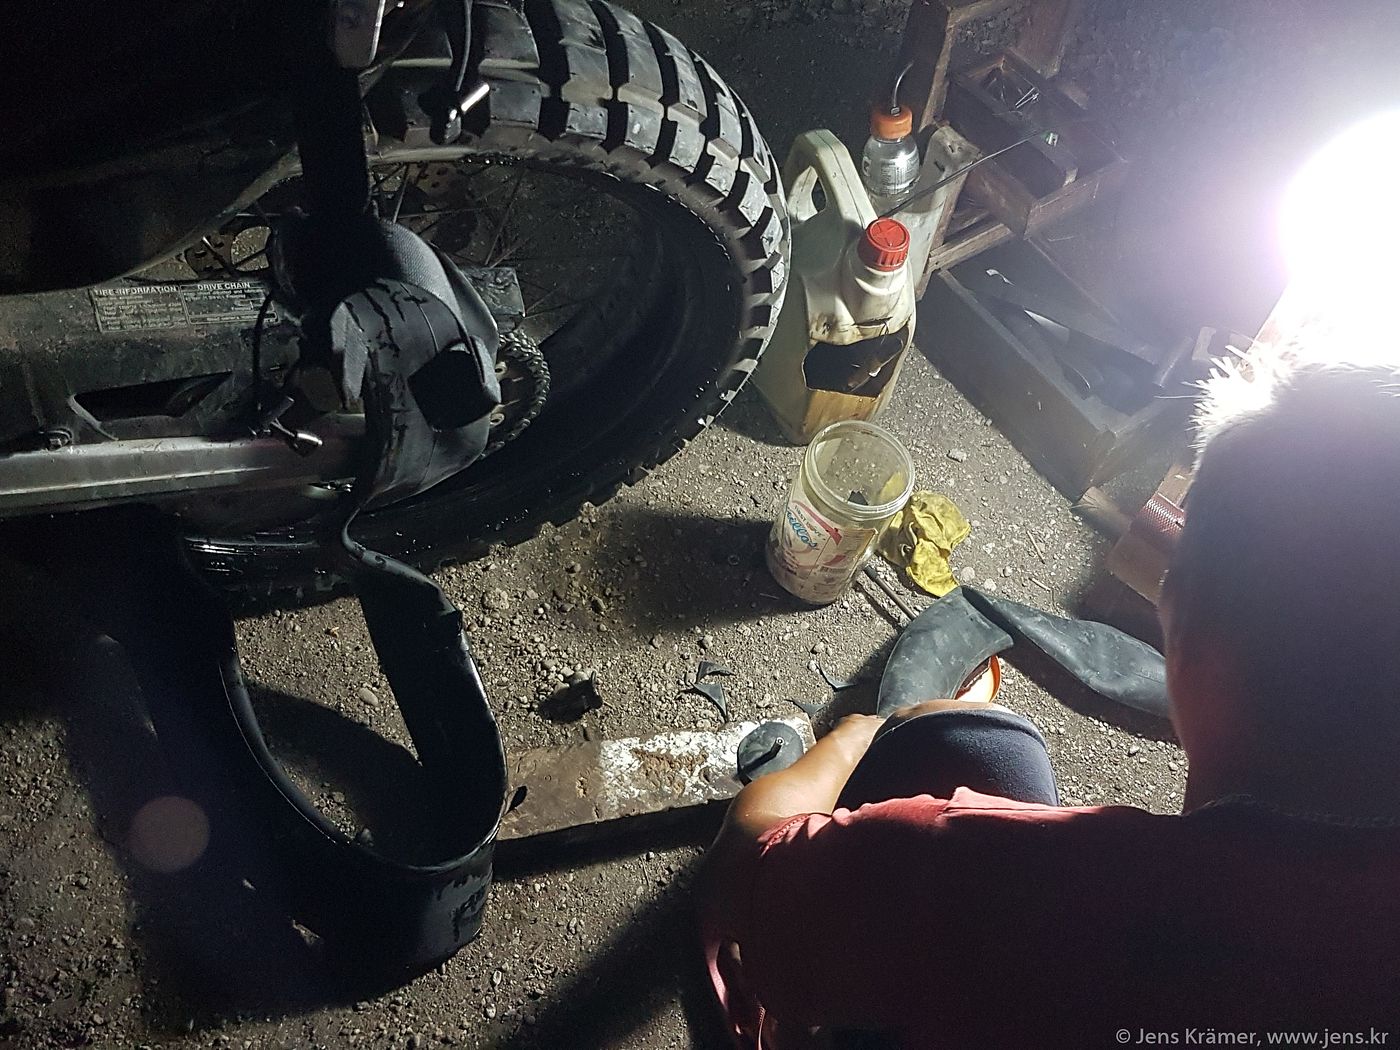
The IRC GP-22 rear that was mounted when the bike was new was done after 6,000km. It wasn't bad but I wanted something more suited for onroad use while not giving up too much offroad. A dealer in Cebu City happens to have Shinko tires so I ordered the Shinko E-805 120/90-18. This is a bit higher than stock (which is 120/80-18) but fits the Rally perfectly fine.
I like the big block pattern and from what I can say they perform very well on concrete and in mud.
The last photo shows the nearly new tire, the others were taken after 4,000km of mostly onroad use. So far it looks like this one will outlast the IRC that was mounted before by a couple tkm.
Crash Bar
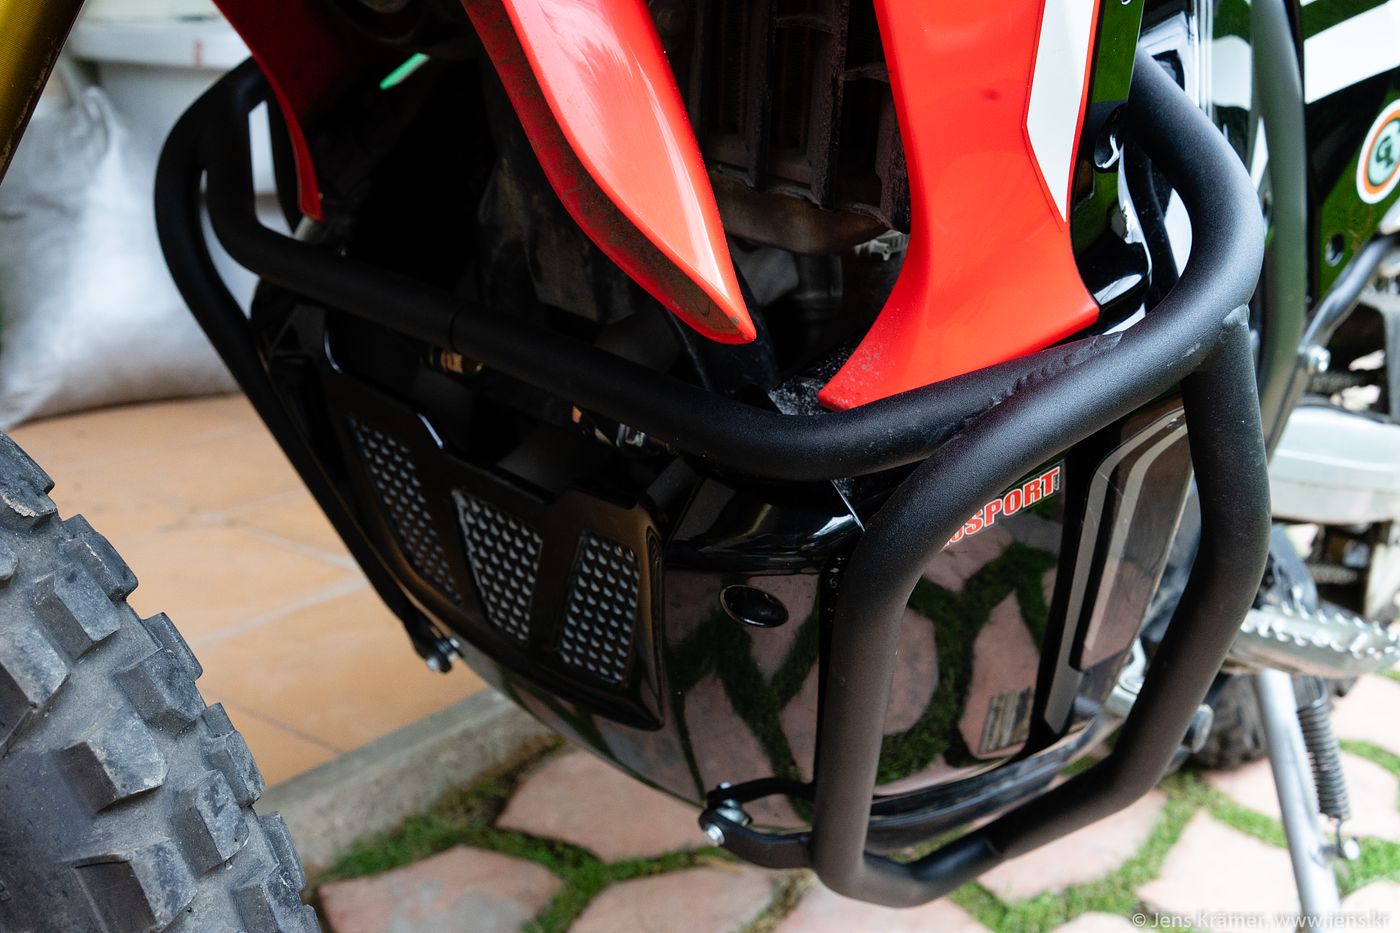
Bought this from Advance Adventure in Indonesia. Installation notes and more info here.
13 Tooth Front Sprocket
Only recently I swapped out the stock 14 tooth front sprocket for a smaller, 13 tooth sprocket. That change gears the bike down quite a bit and improves 6th gear (which stock feels more or less like an overdrive and now is actually really usable) as well as 2nd gear, which becomes more useful in rough terrain. Where I previously had to drop down to first, I can stay in second now. To a lesser degree also true for 3rd.
The downside is obviously higher revs near top speed, but the added grunt in the lower gears is worth it to me. Also, I rarely find myself riding faster than 100km/h anyway due to traffic / road conditions.
After that change my speedometer was off by about 13% when compared to a GPS, so I installed a SpeedoDRD to fix that. Installation and programming was straight forward. Checkout this video for the location of the velocity sensor plug.